When you first decide to learn how to crochet, walking down the yarn aisle can feel completely overwhelming. You are faced with a dazzling array of colors, textures, and a wall of tools that all look slightly different. The most common question I hear from beginners is simply: what hook do I actually need to get started? Understanding crochet hook sizes and materials is the very first step in your crafting journey, and getting it right will save you a lot of frustration.
I always recommend starting simple. You don’t need a massive, expensive set of hooks to crochet your first coasters or mini amigurumi. You just need one reliable hook that feels comfortable in your hand and works well with medium-weight yarn. In this guide, I want to walk you through exactly how to read those confusing numbers and letters on the packaging, what materials glide best through yarn, and how the shape of the hook can change your stitching experience. Don’t worry if it seems like a lot of information right now; by the end of this post, you’ll know exactly what to put in your basket.
Key Takeaways
- The most beginner-friendly hook size is a 5.0mm (Size H) or 5.5mm (Size I).
- Ergonomic aluminum hooks offer the best balance of smooth glide and hand comfort.
- Understanding the difference between inline and tapered hook heads can help fix tension issues.
- Matching your hook size to your yarn weight is crucial for a flexible, neat crocheted fabric.
Understanding Crochet Hook Sizes
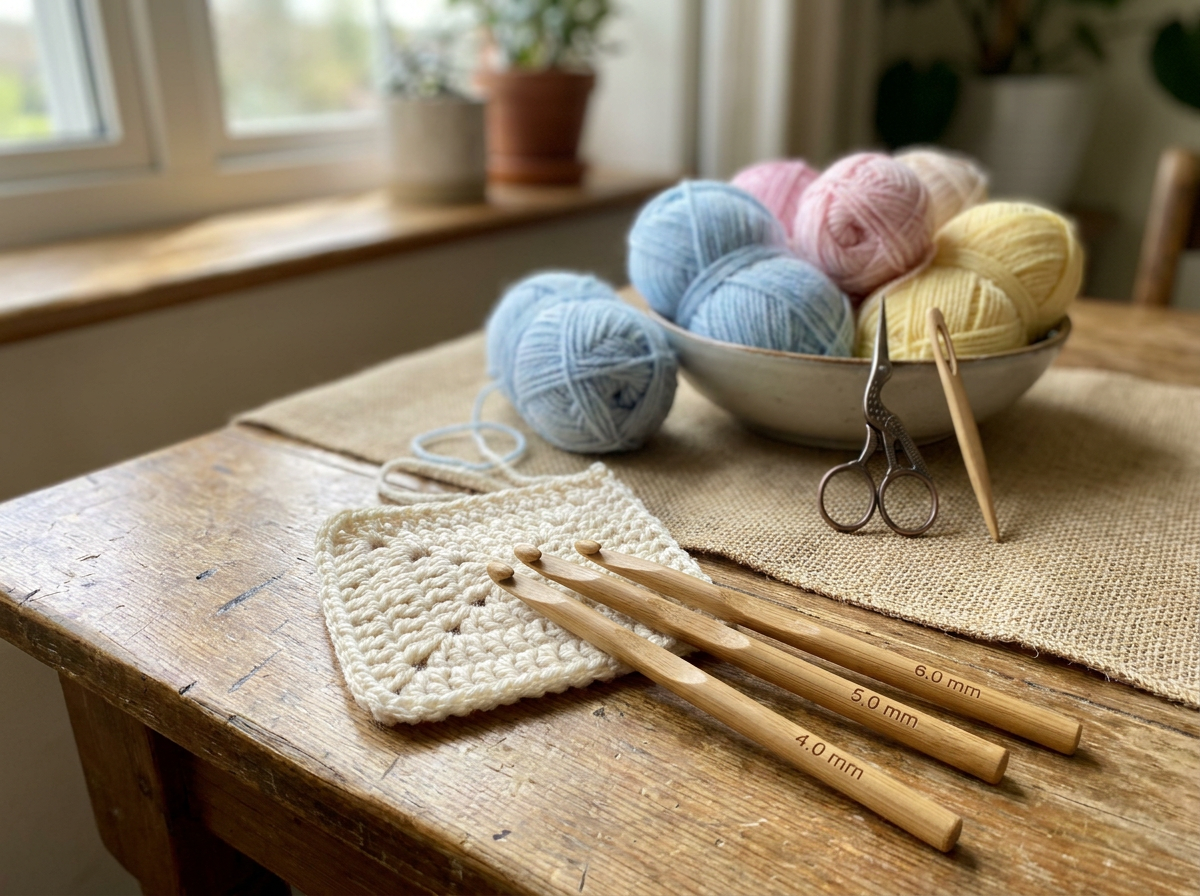
The most confusing part of picking your first tool is deciphering the crochet hook sizes. Depending on where you live and what brand you buy, a hook might be labeled with a metric millimeter size (like 5.0mm), a US letter and number (like H-8), or sometimes a UK number. My advice? Always look for the millimeter (mm) sizing. It is the universal standard, and if you only remember one thing from this guide, it’s that the mm size never lies.
The Best Size for Beginners
If you are standing in the store right now wondering which one to buy, pick up a 5.0mm (US H-8) or a 5.5mm (US I-9). Why? Because these sizes perfectly pair with worsted weight (Medium 4) yarn, which is exactly what you should be using for your first practice swatches. A hook that is too small (like a 3.0mm) will make your stitches impossibly tight and hard to see, while a hook that is too large (like an 8.0mm) will create floppy, hole-filled fabric that is difficult to control.
How Hook Size Affects Your Work
The diameter of the hook’s shaft determines the size of your yarn loops. A mistake I see beginners make all the time is trying to use a tiny hook with thick yarn, resulting in a stiff, cardboard-like fabric that splits the yarn constantly. Conversely, using a giant hook with thin yarn makes a fishnet. When in doubt, check the yarn label—almost every skein of yarn has a tiny square icon on the back recommending a specific hook size. For your first project, follow that recommendation strictly.
Materials Matter: Aluminum, Wood, or Plastic?
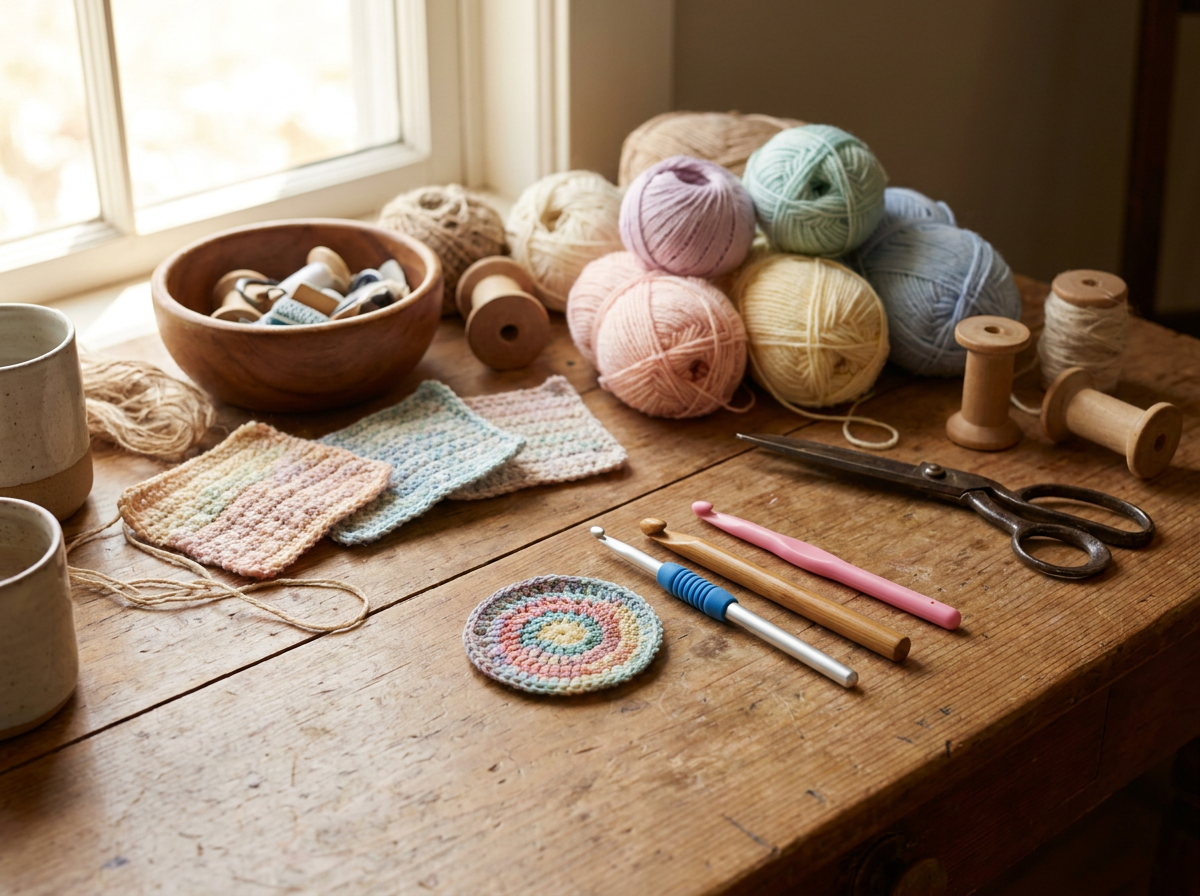
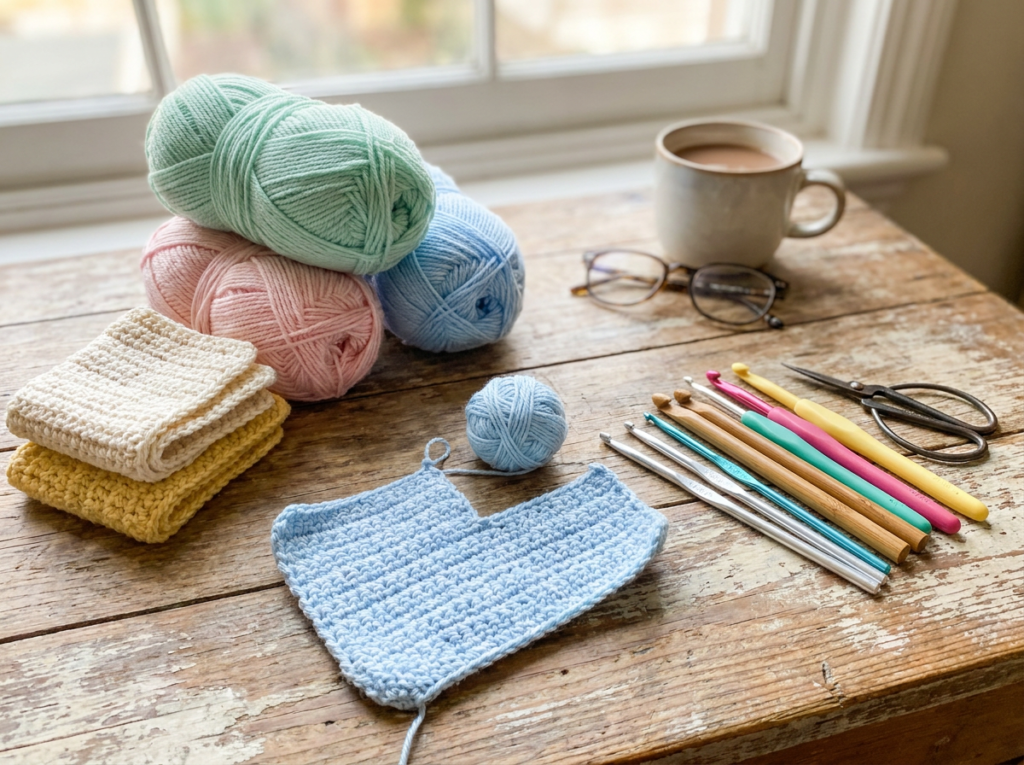
Once you have figured out your sizes, you need to decide what your hook should be made of. The material of the hook completely changes how the yarn behaves as you pull it through loops. Here is a breakdown of the three most common materials you will encounter.
Aluminum Hooks
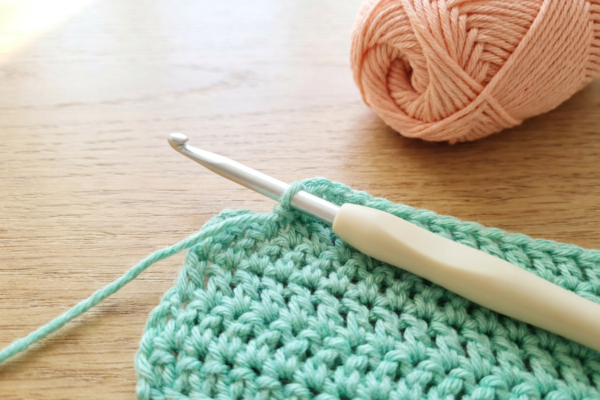
Aluminum is my top recommendation for beginners. It is incredibly smooth, meaning your yarn will glide effortlessly over the shaft. When you are still figuring out how to hold the yarn and maintain tension, an aluminum hook prevents frustrating snagging. Many modern aluminum hooks come with thick, rubbery ergonomic handles. I strongly suggest investing the extra few dollars in an ergonomic handle—your wrists will thank you later when you are crocheting for hours!
Wooden and Bamboo Hooks
Bamboo hooks are beautiful, lightweight, and warm in the hand. They have a slight “grip” to them, which means the yarn won’t slide off as easily. This can actually be helpful if you find your stitches are slipping around too much, but a mistake I see beginners make is buying cheap, unpolished bamboo hooks that splinter and shred their yarn. If you go with wood, make sure it is highly polished.
Plastic and Resin Hooks
Plastic hooks are very inexpensive and great for teaching kids, but they are generally reserved for jumbo sizes (like 10mm and up) where metal would simply be too heavy. For standard sizes like a 5.0mm, I advise avoiding plain plastic hooks. They can have tiny seams from the manufacturing mold that snag your yarn, and they tend to squeak against acrylic fibers, which can drive you crazy after ten minutes of stitching.
Anatomy of a Hook: Inline vs. Tapered
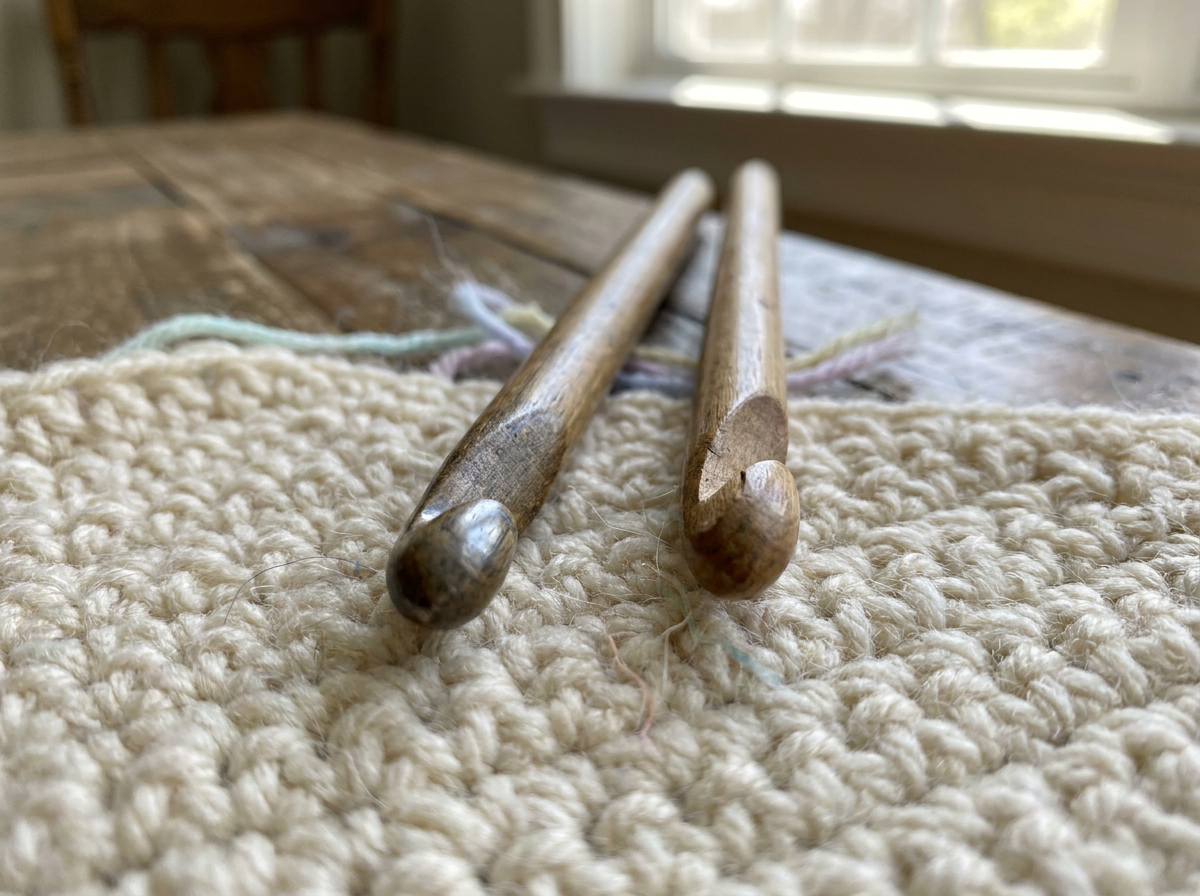
This is a detail that many generic guides skip, but it is a game-changer for your crochet technique. The “head” (the actual hook part that grabs the yarn) generally comes in two different shapes: inline and tapered. Knowing the difference can help you troubleshoot why your stitches might be too tight or why you keep dropping the yarn.
Tapered Hooks
A tapered hook has a rounded head that narrows slightly at the throat before widening out to the main shaft. The actual hook part doesn’t protrude past the shaft. These are very common and excellent for fast crocheting because the rounded head easily pokes into tight stitches. However, because the throat is narrower than the shaft, beginners sometimes accidentally make their loops too tight by forming the stitch on the narrowest part of the hook rather than sliding it down to the full-size shaft.
Inline Hooks
An inline hook looks like someone took a straight cylinder and carved a deep notch into it. The head is perfectly in line with the shaft, and the notch is usually deeper and pointier. My favorite trick for beginners struggling to keep their stitch sizes even is to switch to an inline hook. The straight shaft forces your loops to be exactly the right size, and the deep notch securely grabs the yarn so it doesn’t slip off while you are pulling it through.
Which Should You Choose?
Honestly, this comes down to personal preference! I prefer tapered hooks for making small amigurumi because the rounded head slips into tight single crochets beautifully. Try holding one of each at the craft store and see which style naturally appeals to you.
Frequently Asked Questions
Do I need a whole set of hooks to start?
Absolutely not! Buying a single 5.0mm or 5.5mm hook is the smartest way to start. It allows you to figure out if you prefer inline or tapered, aluminum or bamboo, without wasting money on a 15-piece set you might not like.
Why does my yarn keep splitting when I hook it?
Yarn splitting usually happens if your hook is too small for the yarn, or if you are using a hook with a very sharp, unpolished point. Try sizing up your hook by 0.5mm or switching to a smoother aluminum hook with a rounded head.
What is an ergonomic hook?
An ergonomic hook has a thick, shaped handle (usually made of rubber or soft plastic) surrounding the metal shaft. It stops you from pinching a tiny metal stick tightly, preventing hand cramps and wrist pain during long crochet sessions.
Can I use a US size G (4.0mm) for my first project?
You can, but it is better suited for DK (Light 3) weight yarn or making tight amigurumi toys. For learning basic stitches where you need to clearly see where to insert your hook, a slightly larger 5.0mm hook is much more forgiving.
Time to Get Hooking
Choosing your first crochet hook doesn’t have to be a stressful test of your craft store navigation skills. By focusing on standard crochet hook sizes—specifically that golden 5.0mm or 5.5mm range—and picking a smooth aluminum tool, you are setting yourself up for success. Don’t worry if your first few rows of crochet look a little uneven; mastering the tension between your new hook and the yarn simply takes a bit of practice. Grab your new hook, pick out a bright, smooth worsted weight yarn, and start making those first slip knots. Happy crocheting!