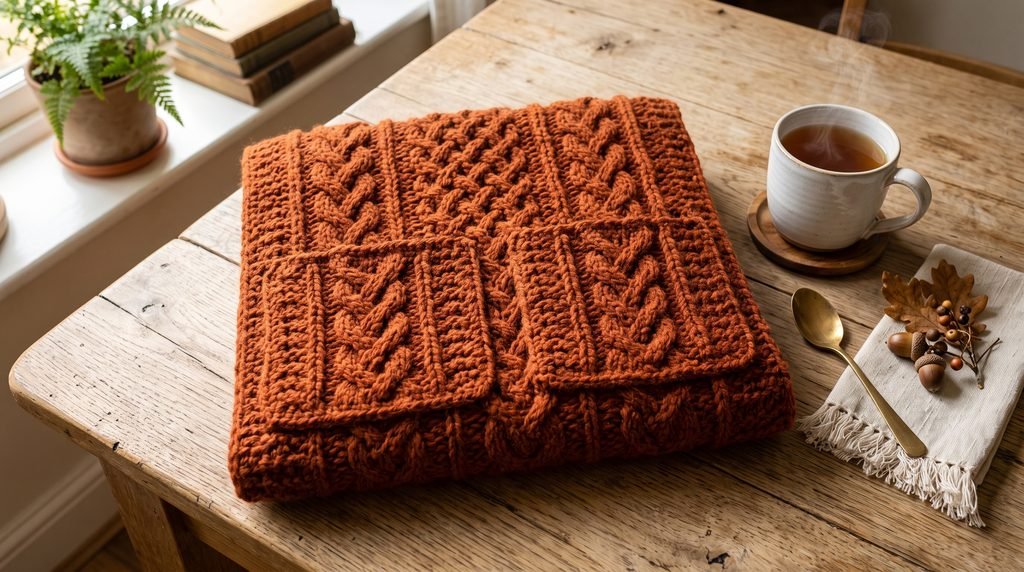
Welcome to PurelyHobby! As the autumn air turns crisp, there is nothing more comforting than wrapping yourself in an oversized, heavily textured shawl. But we are taking it a step further: we are adding deep, functional pockets.
If you love the rich, complex look of traditional knit Aran sweaters but prefer to work with a crochet hook, this Celtic Cable Pocket Shawl is the ultimate weekend project. Using clever combinations of front-post and back-post double crochets, we will build a dense, squishy fabric that traps heat and looks incredibly high-end. The best part? There is no complicated shaping and no separate pocket pieces to crochet. The entire garment is constructed from one massive, continuous rectangle that is simply folded and seamed at the ends.
Essential Materials & Tools
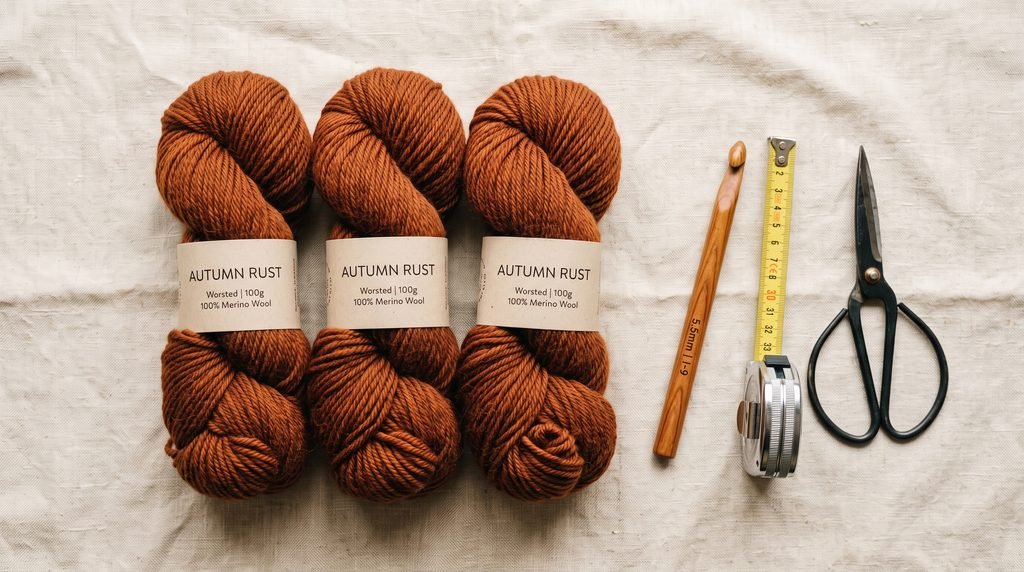
To achieve the exact drape and stitch definition shown in our photos, choosing the right yarn is crucial. Cable stitches consume a lot of yarn and add thickness, so a lofty, lightweight worsted yarn prevents the shawl from becoming too heavy.
- Yarn: 6 to 7 skeins (approx. 1,200 – 1,400 yards) of Aran/Worsted Weight (Category 4) Yarn. We are using a premium acrylic/wool blend in “Deep Autumn Rust”.
- Crochet Hook: 5.5 mm (US I/9) ergonomic wooden or metal hook.
- Notions: A blunt tapestry needle for seaming the pockets, 4 locking stitch markers, a tape measure, and matte black craft scissors.
Gauge Swatch & Stitch Abbreviations (US Terms)
Gauge: 13 double crochets x 8 rows = 4″ x 4″ (10 x 10 cm). Always make a small swatch before starting a large wearable to ensure your shawl doesn’t end up too narrow or too stiff.
- ch: chain
- dc: double crochet
- fpdc: front post double crochet (Yarn over, insert hook from front-to-back-to-front around the vertical post of the stitch below, pull up a loop, complete as a normal dc. This pushes the stitch forward to create a cable rib.)
- bpdc: back post double crochet (Inserted back-to-front-to-back. This pushes the stitch away from you to create the background depth.)
- Cable Cross (skip 2, fpdc 2, cross back): Skip the next 2 stitches. Work 1 fpdc around the next 2 stitches. Cross your hook in front of the two stitches just made, and work 1 fpdc around the 2 skipped stitches.
Step-by-Step Pattern: The Main Shawl Body
The shawl body is worked in long rows back and forth. The width of your starting chain determines the final width of your shawl (approx. 18 inches), while the number of rows determines the total length (approx. 72 inches before folding).
Row 1 (The Foundation): Chain 66. Work 1 double crochet (dc) in the 3rd chain from the hook, and 1 dc in each chain across the entire row. Turn your work. (64 stitches total).
Row 2 (Establishing the Ribs): Chain 2 (does not count as a stitch here and throughout). Work 1 dc in the first 4 stitches. Work 1 fpdc around the next 4 stitches, then 1 bpdc around the next 4 stitches. Repeat this alternating sequence across the row. End with 1 dc in the last 4 stitches to create a smooth, clean border edge. Turn.
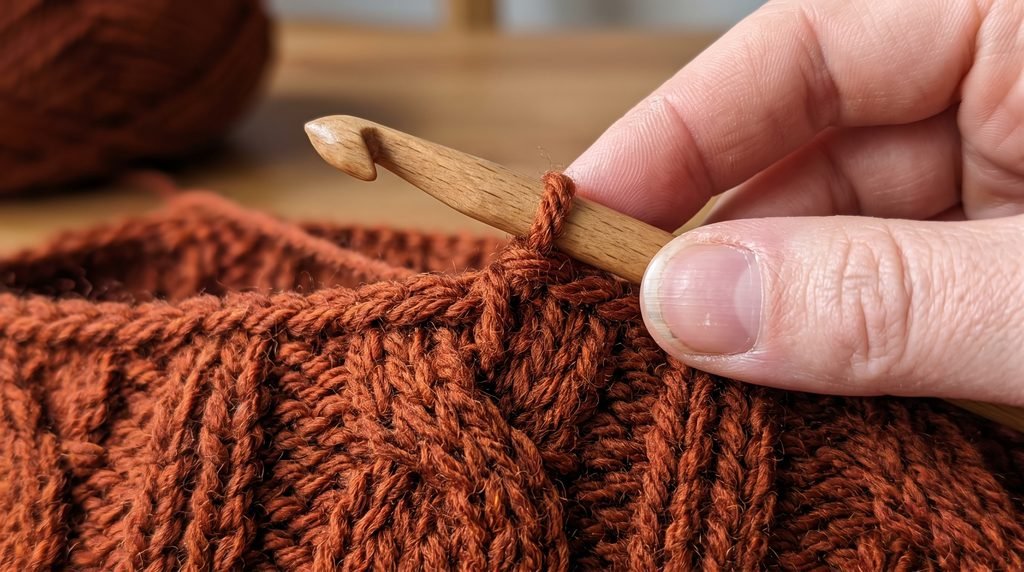
Row 3 (The First Cable Cross): Chain 2. Work 1 dc in the first 4 stitches. Work the Cable Cross (Skip 2 posts, fpdc in next 2 posts. Cross hook in front and fpdc into the 2 skipped posts). Work 1 bpdc around the next 4 stitches. Repeat this sequence across to twist your cables. End with 1 dc in the last 4 stitches. Turn.
Row 4 (Background Reset): Chain 2. Work 1 dc in the first 4 sts. Work 1 bpdc around the next 4 stitches (these are the backs of your cable twists), work 1 fpdc around the next 4 stitches. Repeat across, ending with 4 dc. Turn.
Building the Length: Repeat Rows 2 through 4 until your flat shawl measures a massive 72 to 74 inches long. Fasten off and weave in your starting and ending tails securely.
The Magic Fold: Creating the Pockets
Here is where the magic happens. We are going to transform this flat rectangle into a functional garment without hooking a single new piece of yarn.
- Lay it Flat: Spread your finished, 72-inch long shawl completely flat on a large table or clean floor, with the “wrong” side (the flatter side with less pronounced cables) facing upward.
- Measure and Fold: Grab the bottom short edge of the shawl and fold it straight upward by exactly 10 inches.
- Align the Cables: Because we maintained a steady border, the raised cables from the folded piece will perfectly align with the cables on the main body. Pin the left and right edges in place using your locking stitch markers.
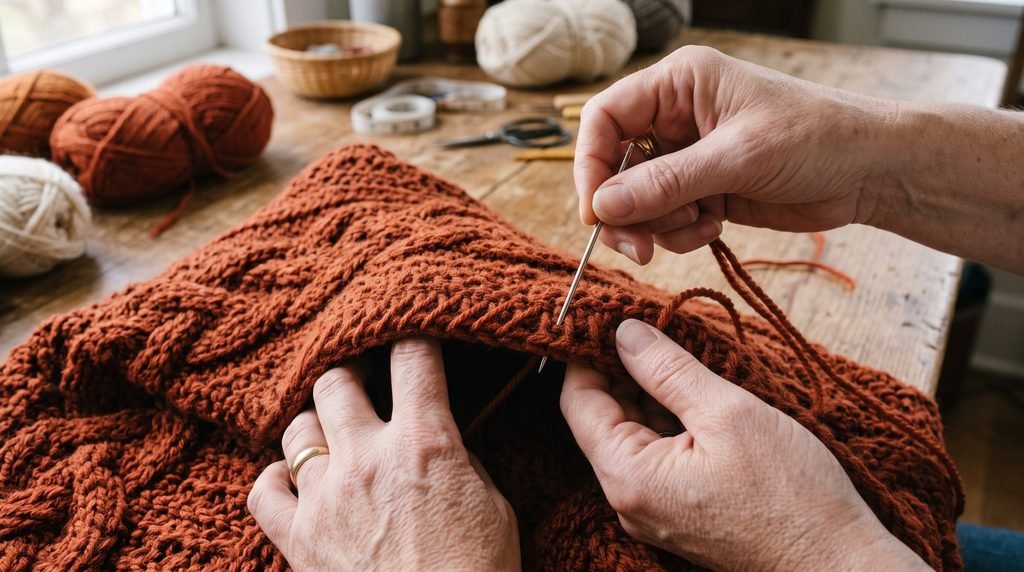
- Seam the Edges: Thread your tapestry needle with an 18-inch strand of matching rust yarn. Whip-stitch the outer left edge securely, joining the folded flap to the main body. Repeat on the right edge.
- Flip and Repeat: Turn the pocket inside out to hide the seam. Move to the opposite end of the 72-inch shawl and repeat steps 2-4 to create the second pocket.
Finishing and Blocking
To get that truly professional, store-bought drape, blocking is highly recommended. Pin your finished shawl to blocking mats, gently spray it with lukewarm water until damp, and let it air dry completely. This relaxes the acrylic fibers, softens the drape, and opens up the Celtic cable twists so they pop visually. Slide your hands into your new, seamless pockets and enjoy the autumn weather!