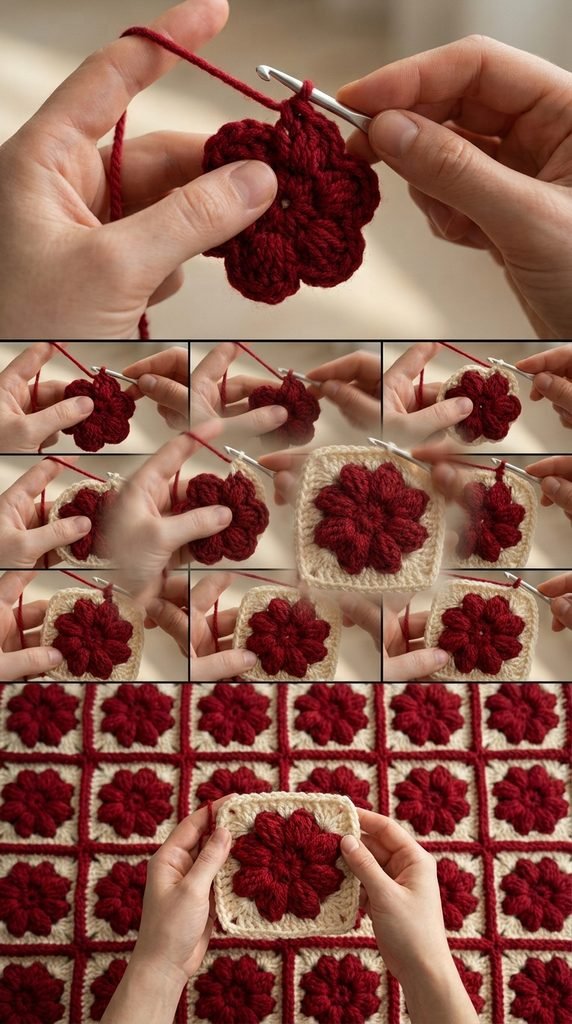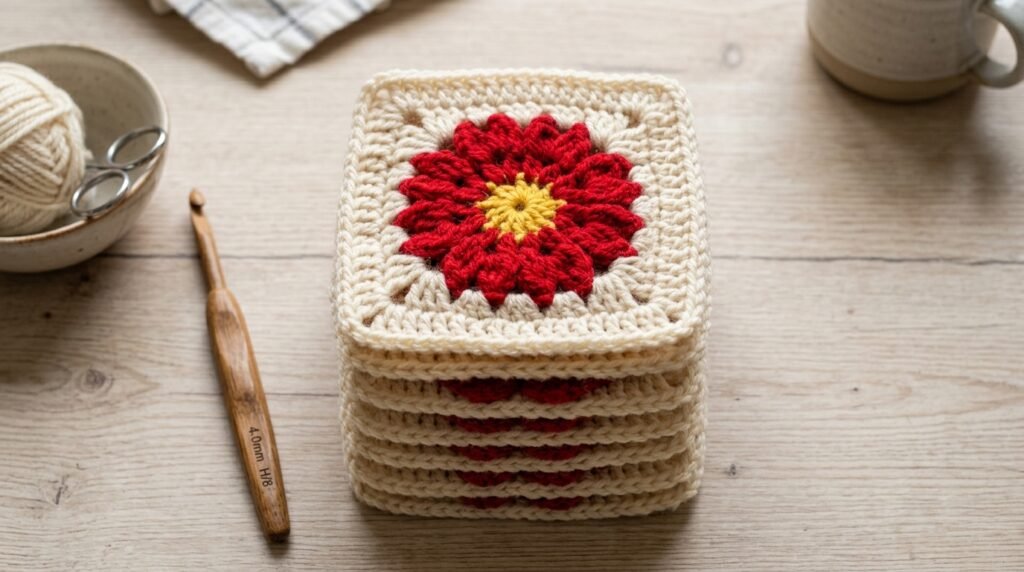
Welcome to PurelyHobby! If you want to create a stunning vintage-inspired blanket, this Red Flower Granny Square is the perfect motif to add to your collection. This design starts with a vibrant, thick red petal center and uses a neutral cream border to turn the circular floral shape into a crisp, joinable square. When you stitch dozens of these together, it creates a breathtaking field of geometric flowers.
Materials & Tools
To get the exact look from our tutorial, you will need:
- Yarn: Medium weight (Worsted/Aran) acrylic or cotton blend. You will need Deep Red for the flower center and Light Cream for the outer square border.
- Crochet Hook: 4.5mm or 5.0mm (US H/8) wooden or metal hook.
- Notions: A tapestry needle for weaving in those ends, and a pair of sharp craft scissors.
Stitch Abbreviations (US Terms)
- MR: Magic Ring
- ch: chain
- sl st: slip stitch
- hdc: half double crochet
- dc: double crochet
- cl (4-dc cluster): Yarn over, insert hook, pull up loop, yarn over, pull through 2 loops. Repeat 3 more times in the same space. Yarn over, pull through all 5 loops on the hook.
Materials & Tools
- Yarn: Medium weight (Worsted/Aran) acrylic or cotton blend.
- Color A: Deep Red (Flower center)
- Color B: Light Cream or Warm Beige (Outer square border)
- Crochet Hook: 4.5mm or 5.0mm (US H/8).
- Notions: Tapestry needle, scissors.
Stitch Abbreviations (US Terms)
- MR: Magic Ring
- ch: chain
- sl st: slip stitch
- hdc: half double crochet
- dc: double crochet
- cl: 4-dc cluster (Yarn over, insert hook, pull up loop, yarn over, pull through 2 loops. Repeat 3 more times in same space. Yarn over, pull through all 5 loops on hook).
Step-by-Step Pattern
Round 1: The Red Flower Petals
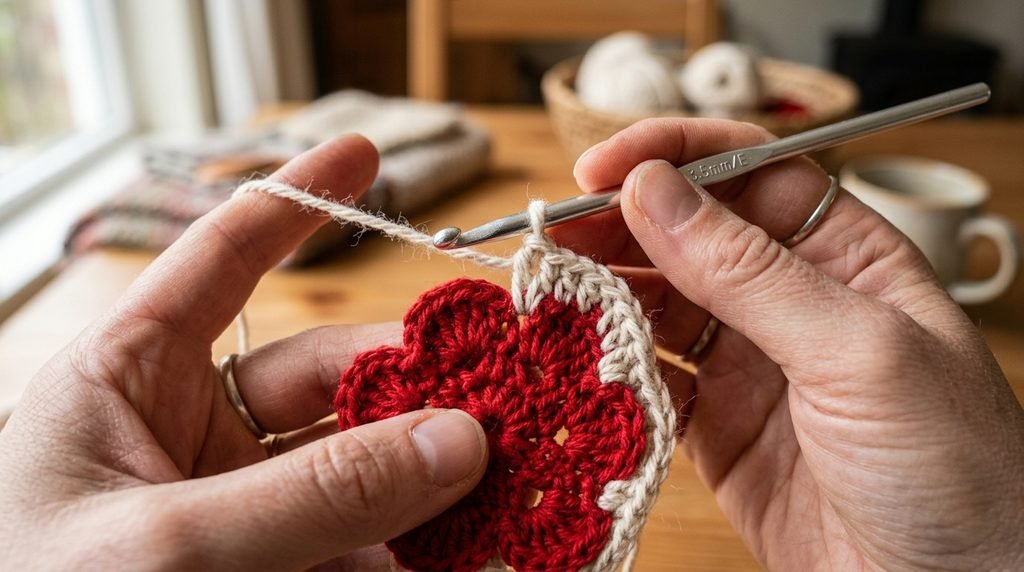
Using your Deep Red yarn, form a Magic Ring.
- Step 1: Ch 2 (counts as partial stitch). Work a 3-dc cluster into the ring to form the first petal, ch 3.
- Step 2: Work a 4-dc cluster into the ring, ch 3.
- Step 3: Repeat Step 2 four more times until you have exactly 6 thick petals.
- Step 4: Pull the magic ring tight to close the center hole. Sl st into the top of the first petal to join. Fasten off the Red yarn.
Round 2: The Cream Square Border
Join your Light Cream yarn in any ch-3 space between the red petals.
- Step 1 (First Corner): Ch 3 (counts as a dc), 2 dc, ch 2, 3 dc all in the same space.
- Step 2 (Side): In the next ch-3 space, work 3 hdc.
- Step 3 (Second Corner): In the next ch-3 space, work (3 dc, ch 2, 3 dc).
- Step 4: Repeat Steps 2 and 3 around the flower to form the remaining sides and corners.
- Step 5: Sl st into the top of the beginning ch-3 to close the round. Fasten off and weave in all ends.
Joining Your Squares
Once you have created your desired number of squares, block them to ensure the edges are perfectly straight. You can join them using a simple slip-stitch seam in the back loops or a flat braid join using the cream yarn for a seamless look.
flower-granny-square/)