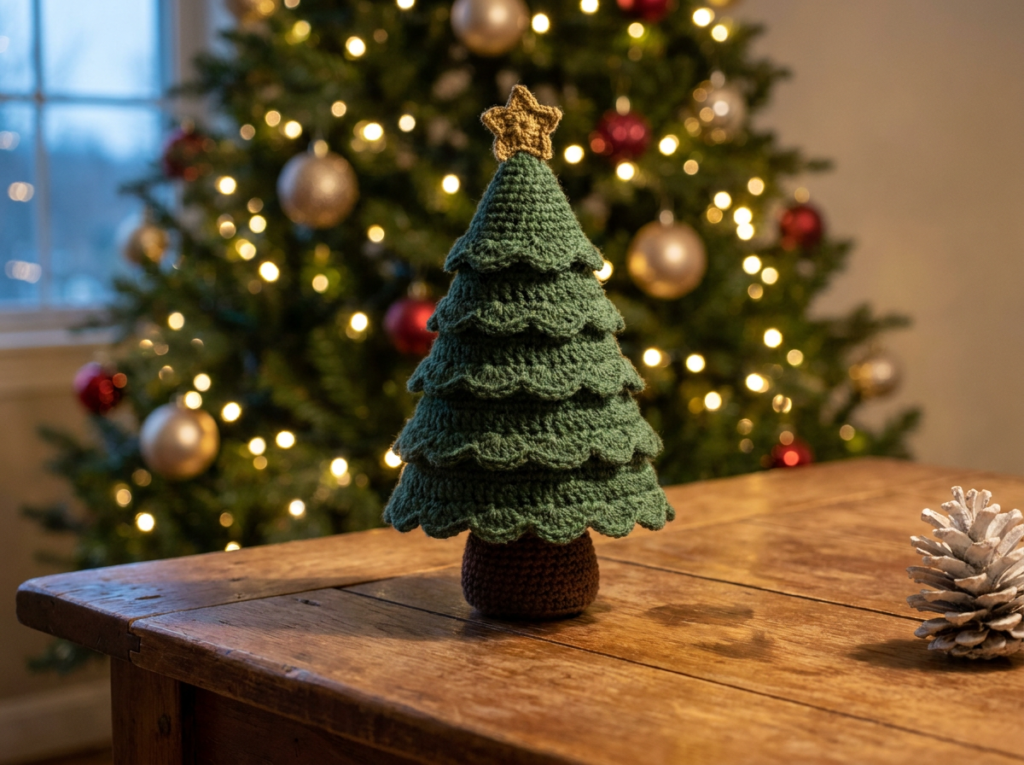
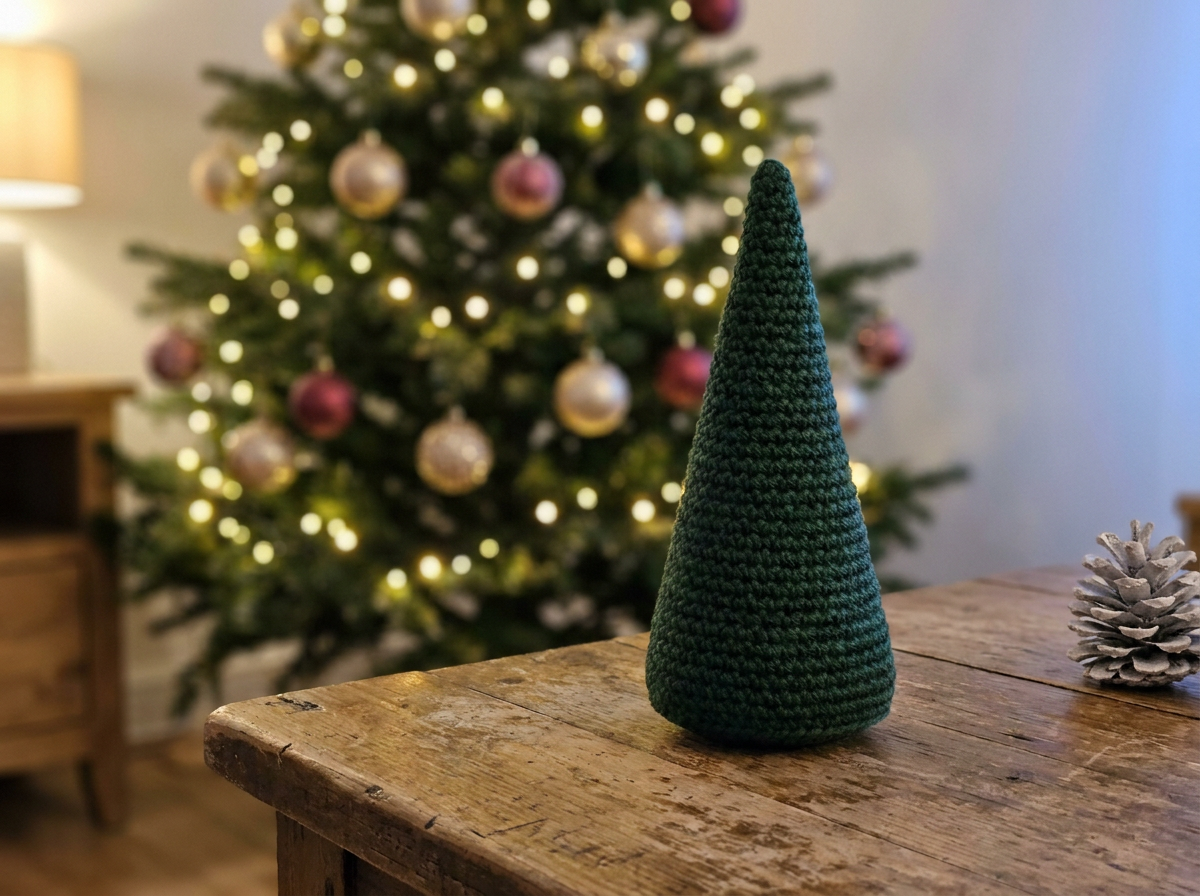
Welcome to one of the most satisfying holiday makes of the season! If you love the magic of watching a project come to life, this Ruffled Scalloped Crochet Christmas Tree is going to steal your heart. At first glance, the foundation of this pattern looks like nothing more than a plain, dark-green crochet cone. But with the addition of four beautifully textured, separately crocheted scalloped ruffles, that simple cone transforms into a breathtaking, three-dimensional freestanding Christmas tree. It is the perfect piece of handmade, tactile holiday decor to sit on a cozy wooden mantle or craft table, surrounded by warm fairy lights and frosted pinecones.
This pattern is a wonderful weekend project that teaches the brilliant technique of building structural crochet. Instead of trying to work complicated ruffles directly into the main body as you go, we create a firm, densely stuffed core. Then, we crochet four descending sizes of scalloped skirts and slide them right onto the cone. The result is a premium, realistic-looking tree with natural shadows, incredible volume, and a lovely scalloped flare. Topped with a tiny antique-gold star and standing on a chocolate-brown base, it’s a modern heirloom you’ll bring out year after year.
Pattern Info
- Skill Level: Intermediate. While the stitches themselves are straightforward, maintaining even tension on the structural cone and smoothly whip-stitching the separate ruffle tiers requires a bit of patience and spatial awareness.
- Finished Size: Approximately 15 to 18 cm (6 to 7 inches) tall, making it the perfect compact size for a tabletop display or holiday centerpiece.
- Gauge: 5 sc and 5 rounds = 1 inch. While exact gauge is not strictly critical, your stitches on the dark green cone must be tight enough so the fiberfill stuffing does not show through.
- Abbreviations Used (US Terms): sc = single crochet, inc = increase (2 sc in one stitch), ch = chain, sl st = slip stitch, rnd = round, st(s) = stitch(es), dc = double crochet.
Materials
- Medium/Worsted Weight (Category 4) Yarn:
- Dark Green (Approx. #006400): 120 yards (for the main structural cone and the four scalloped ruffles).
- Chocolate Brown: 15 yards (for the compact tree base).
- Antique Gold: 5 yards (for the tiny 5-point star topper).
- Crochet Hook: 4.0 mm (G) hook, or size needed to obtain a tight, dense fabric.
- Notions: High-quality polyester fiberfill stuffing, a blunt-tipped yarn needle (wooden or metal) for seaming, stitch markers to track your rounds, and scissors.
Pattern Overview
The construction of this Christmas tree is incredibly unique and deeply satisfying. You will begin by crocheting the structural heart of the project: a firm, dark-green cone worked in continuous rounds, increasing gradually from a pointed tip down to a wide 36-stitch base. Once the cone is firmly stuffed, you will crochet the tree’s trunk—a flat chocolate-brown base—and a tiny antique-gold star. Next comes the magic: you will crochet four completely separate scalloped ruffles in descending sizes (working chains of 36, 28, 20, and 12). By utilizing a simple combination of single crochets and 5-double-crochet shells, these skirts naturally flare out. Finally, you will slide each skirt onto the original dark-green cone, whip-stitching them firmly into place from bottom to top, allowing the layers to bloom beautifully into a recognizable, lush evergreen silhouette.
Step-by-Step Instructions
Grab your dark green yarn, settle into a cozy spot, and let’s start building our tree!
Step 1: Crochet the Structural Cone
Using dark green yarn (#006400), begin with a magic ring. Rnd 1: 4 sc in ring (4). Rnd 2: [1 sc, inc] 2 times (6). Rnd 3: [2 sc, inc] 2 times (8). Continue increasing by 2 or 3 stitches every other round until you reach a wide base of 36 sc at around Rnd 22. Stuff the cone firmly to maintain a solid, straight shape. Fasten off, leaving a long tail for attaching the base later.
Step 2: Crochet the Base and Star
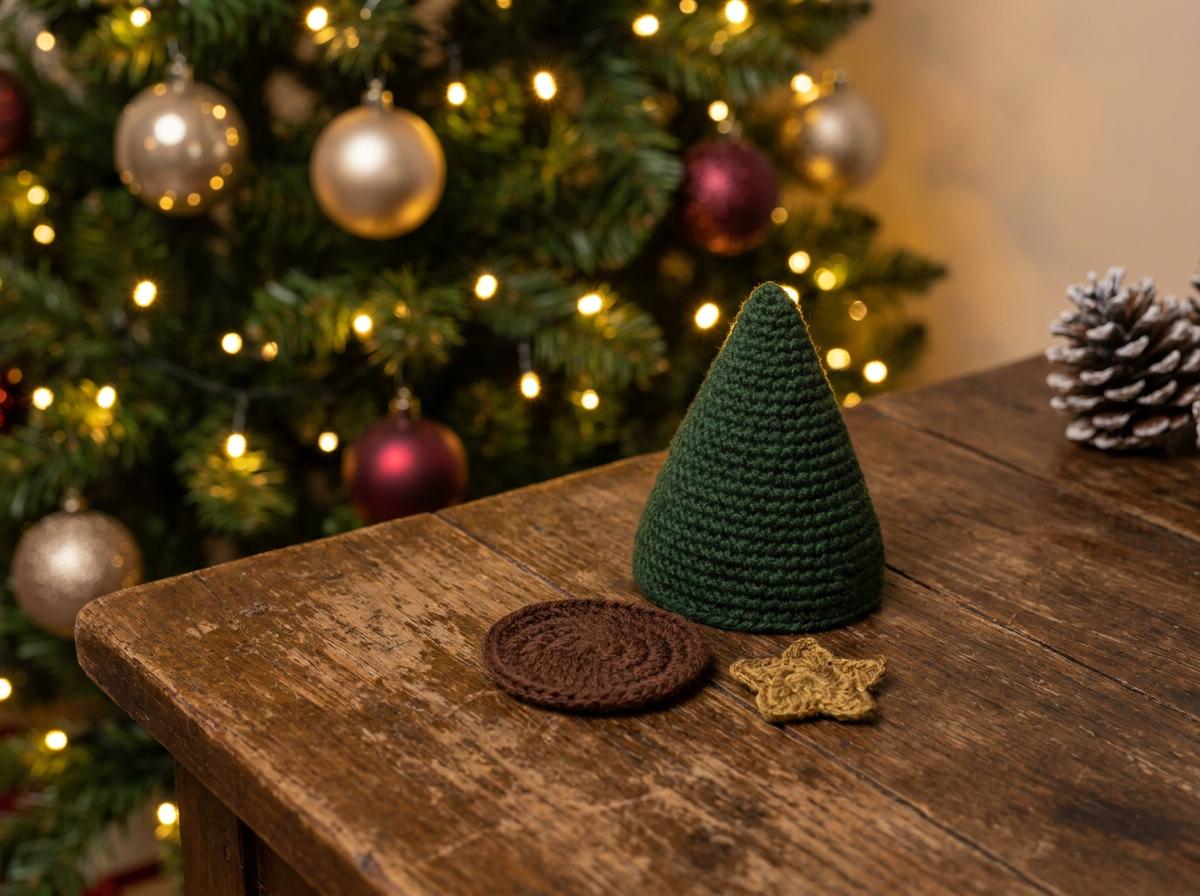
For the tree trunk/base, use chocolate brown yarn. Rnd 1: 6 sc in magic ring (6). Rnd 2: 6 inc (12). Rnd 3: [1 sc, inc] 6 times (18). Rnd 4: [2 sc, inc] 6 times (24). Fasten off. For the star, use antique-gold yarn. Ch 2, [sc, ch 2, sl st in 2nd ch from hook, sl st back into first ch] 5 times to create a tiny 5-point star. Fasten off.
Step 3: Crochet the Four Ruffle Tiers
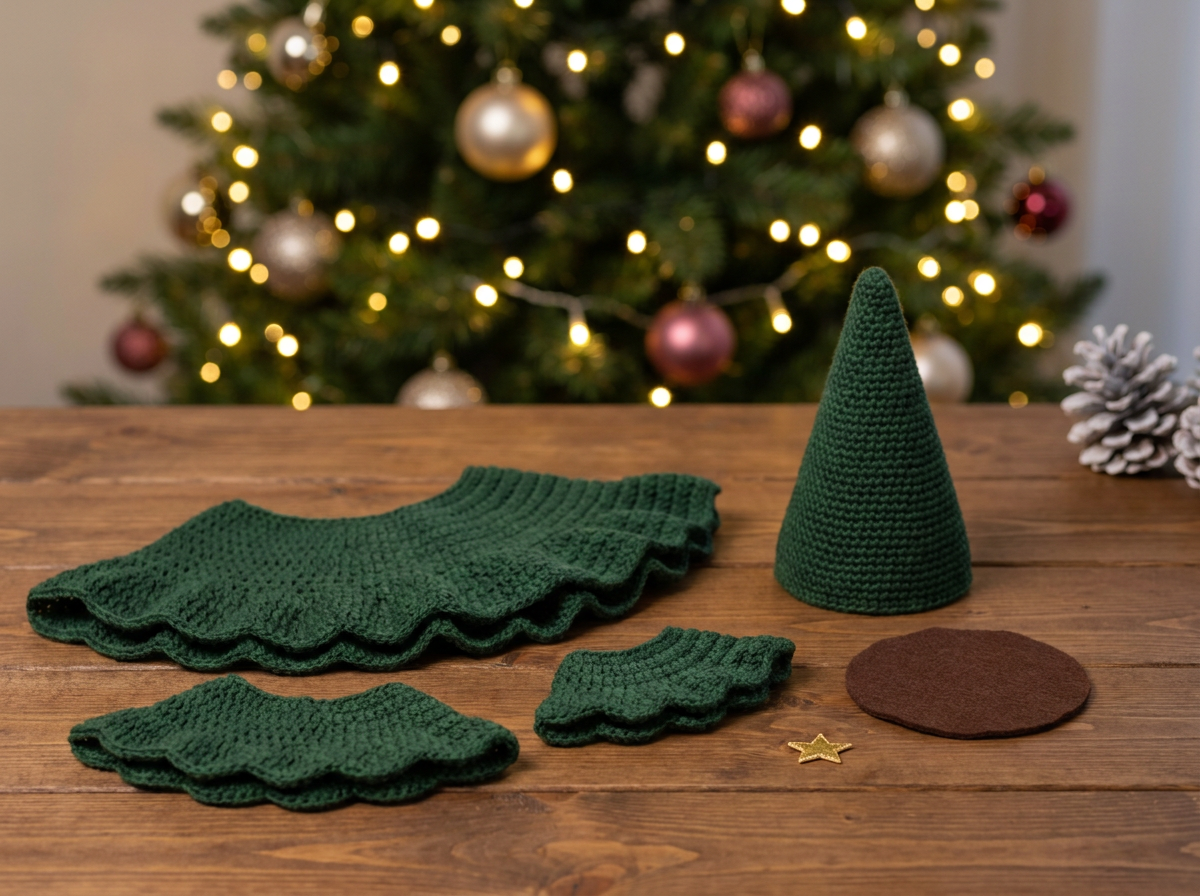
Make 4 separate scalloped skirts using dark green yarn. Each follows the scallop pattern: (sc, skip 1 st, 5 dc in next st, skip 1 st). Skirt 1 (Bottom): Ch 36, join. Work 9 scallops. Skirt 2: Ch 28, join. Work 7 scallops. Skirt 3: Ch 20, join. Work 5 scallops. Skirt 4 (Top): Ch 12, join. Work 3 scallops. Fasten off each piece, leaving long tails for sewing.
Step 4: Attach the Lower Ruffles and Base
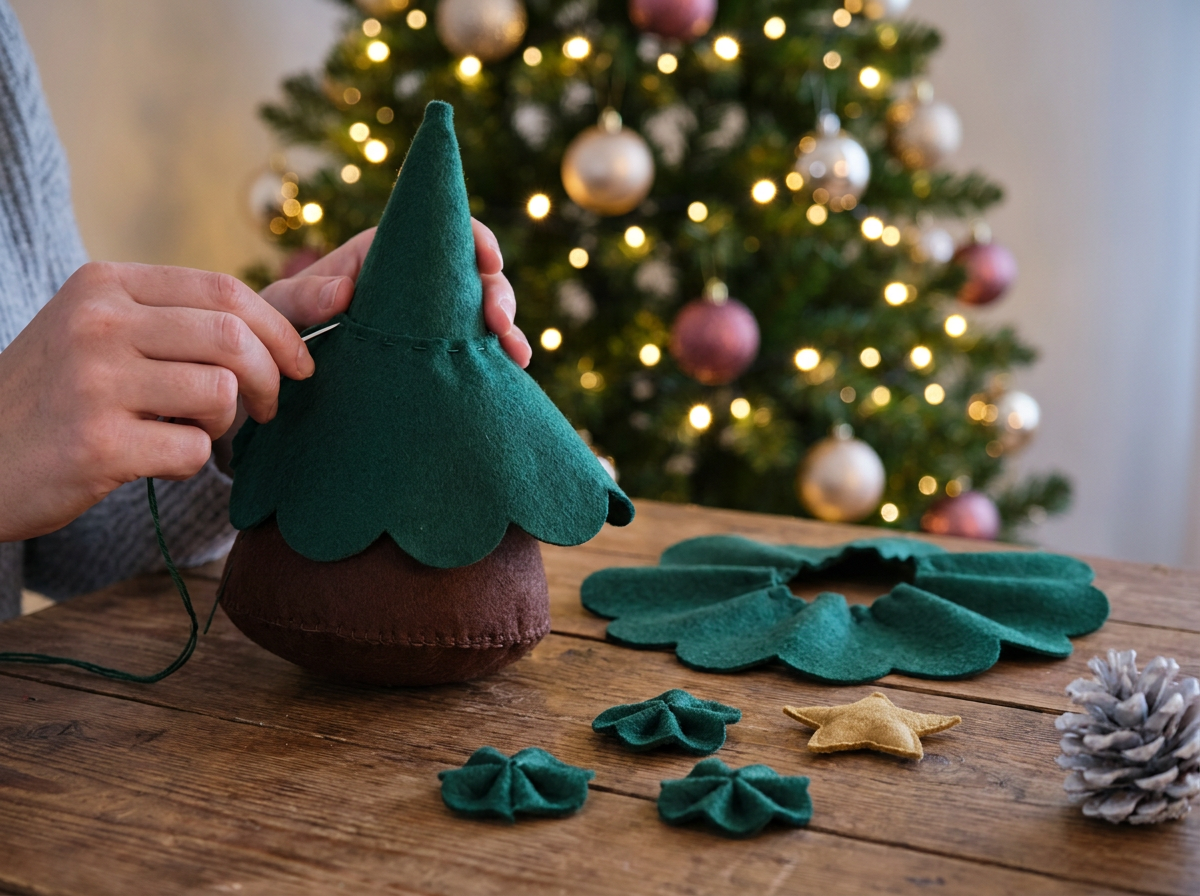
First, sew the chocolate-brown base to the open bottom of the cone, adding any final stuffing before closing. Next, slide the largest ruffle (Skirt 1) onto the cone, positioning it just above the base. Use a yarn needle and the long yarn tail to securely whip-stitch the starting chain edge of the ruffle directly to the surface of the cone. Ensure the scallops flare outward naturally.
Step 5: Attach Remaining Tiers and Star
Slide the remaining three ruffles onto the cone in descending order of size. Space them evenly so the scallops of the upper tier slightly overlap the top of the tier below it. Sew each one securely to the cone using the same whip-stitch method. Finally, sew the tiny antique-gold star directly to the pointed tip of the cone. Weave in all remaining ends.
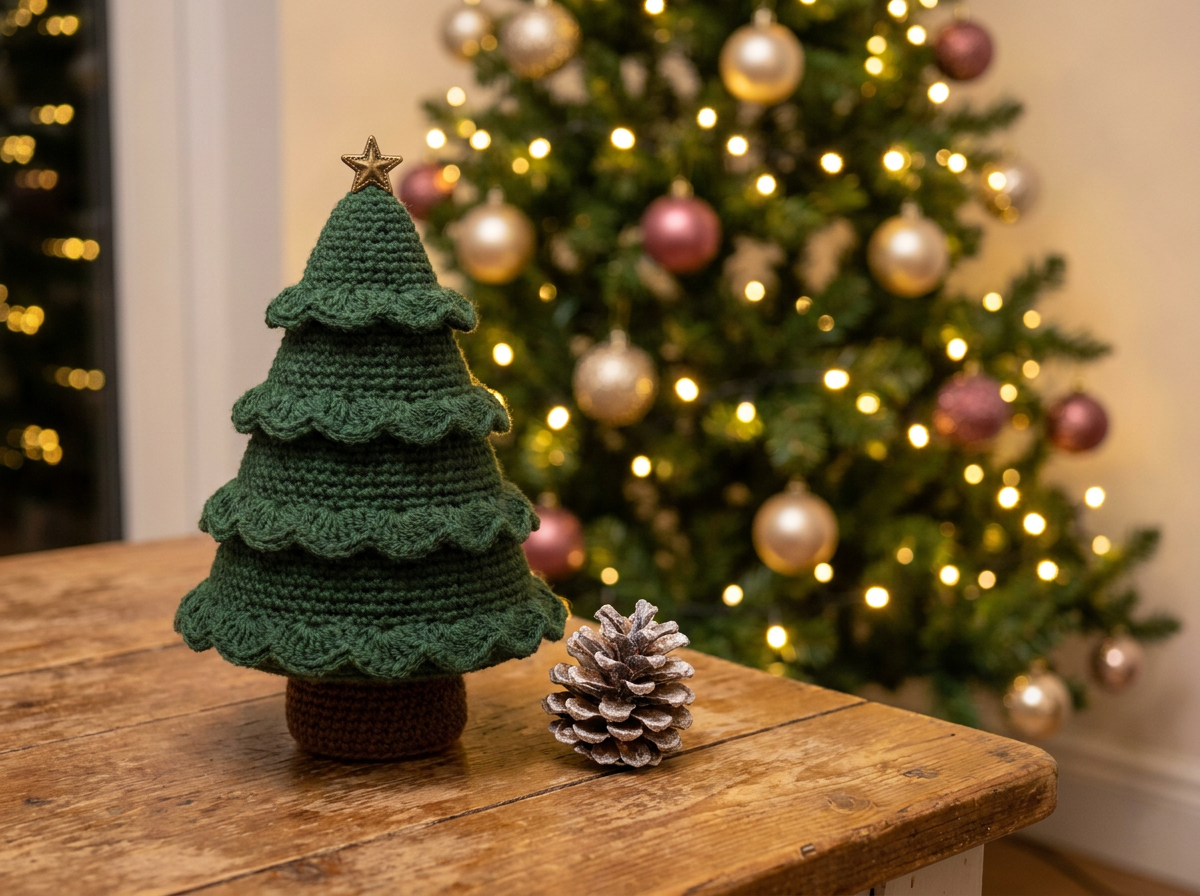
And just like that, your plain crochet cone has bloomed into a spectacular, fully realized Christmas tree! The way those four scalloped ruffles catch the light and cast natural shadows over the dark green cone underneath gives this piece such a premium, heirloom-quality feel. I absolutely love how the firm structural base gives the fabric a satisfying weight, allowing it to stand perfectly on its chocolate-brown trunk.
When it comes to styling your new handmade tree, the possibilities are endless. Because the rich dark green and antique gold tones are so classic, this piece looks incredible sitting on a natural rustic wooden table or nestled onto a bookshelf. Try pairing it with some softly blurred, warm-white fairy lights, a few natural pinecones with frosted tips, and perhaps some understated champagne-gold ornaments nearby. The key is to let the tactile texture of the dark green yarn remain the star of the show.
These trees also make incredible gifts. Because they come together relatively quickly once you master the four-tier construction, you can easily crochet a small forest of them to give to teachers, friends, or family members. You could even customize the star by using a muted cranberry-red yarn if you want a subtle pop of traditional Christmas color, but I highly recommend sticking to the rich forest green for that ultra-realistic, cozy vibe.
If you want to see exactly how these layers are built and sewn onto the cone, make sure you watch the companion video Reel! Seeing the visual transformation from a completely plain cone to a lush, tiered tree in motion is so helpful for mastering the assembly. If you loved making this pattern, please drop a comment, follow along for more cozy seasonal makes, and tag me in your photos on social media—I can’t wait to see your gorgeous scalloped Christmas trees bringing warmth to your homes this holiday season!