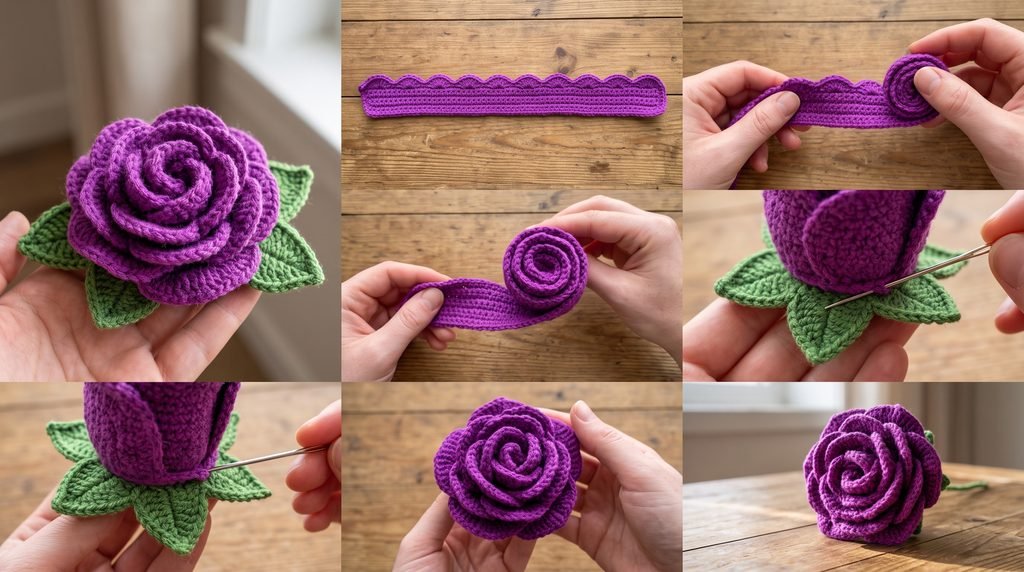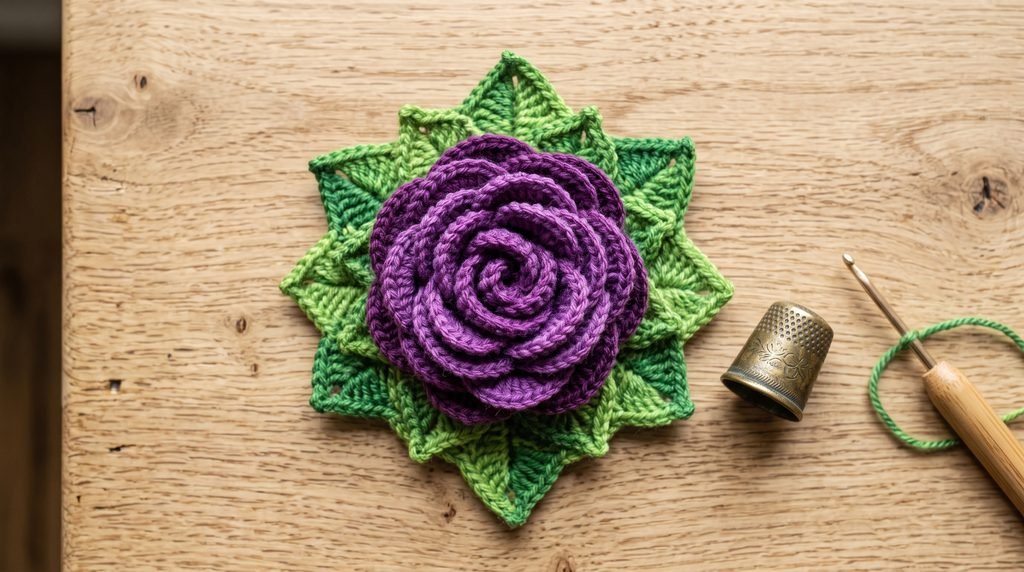
Welcome to PurelyHobby! Flat floral appliqués are great, but sometimes a project needs genuine dimension and physical depth. This 3D Purple Rose is built to pop right off the fabric.
By using a clever “coiled strip” technique for the petals and attaching it to a structured green leafy base, this flower holds its shape perfectly without needing stiffeners or wires. You can sew these onto hats, attach them to hair clips, or use them as heavy statement pieces on a winter blanket.
Essential Materials & Tools
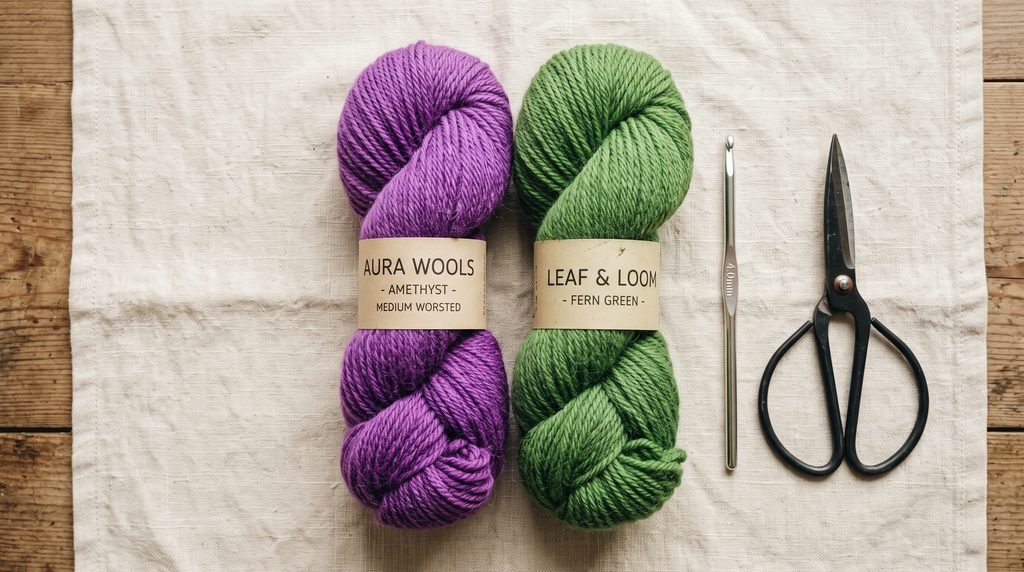
Because we want the petals to stand up stiffly and hold their 3D shape, a sturdy mercerized cotton or a tight-twist acrylic yarn works best.
- Yarn: Medium Worsted Weight (Category 4). You will need Vibrant Purple for the rose and Leaf Green for the base.
- Crochet Hook: 4.0 mm (US G/6) hook. We size down slightly from the standard worsted hook to ensure the stitches are tight and rigid.
- Notions: A tapestry needle (crucial for securing the coiled center), and sharp scissors.
Stitch Abbreviations (US Terms)
- ch: chain
- sc: single crochet
- hdc: half double crochet
- dc: double crochet
- tr: treble crochet (used to give the outer petals extra height)
- sl st: slip stitch
Step-by-Step Pattern: The Purple Rose
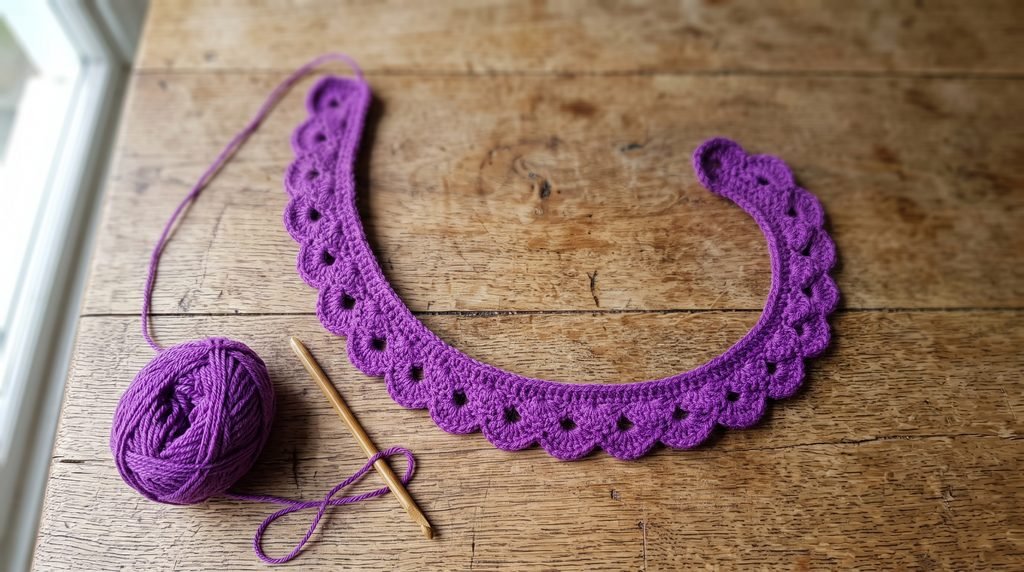
Instead of working in a circle, we crochet a long, scalloped strip that naturally curves, which we then roll into a spiral to form the rose.
Row 1 (The Foundation V-Stitches): Using the Purple yarn, chain 55. In the 4th chain from the hook, work 1 dc. Chain 1, skip the next 2 chains. In the next chain, work (1 dc, ch 2, 1 dc) to create a V-stitch. Repeat from * to * across the entire chain. Turn your work.
Row 2 (The Inner Petals): Chain 1. Skip the first dc. In the first ch-2 space (inside the V), work 6 dc. Slip stitch into the next ch-1 space. Repeat this process (6 dc in the V-space, sl st in the ch-1 space) for the first 8 V-stitches. These shorter shells will form the tight inner bud of the rose.
Row 3 (The Outer Petals): For the remaining V-stitches across the row, work 8 tr (treble crochets) into each V-space, and sl st into the ch-1 spaces. These taller stitches will flare outward, creating the large outer petals. Fasten off, leaving a very long 20-inch tail for sewing.
Step-by-Step Pattern: The Leafy Base
Round 1: Using the Green yarn, create a Magic Ring. Ch 1, work 10 sc into the ring, pull tight, and sl st to join. Round 2: Ch 1. Work 2 sc in each stitch around. Sl st to join. (20 sts) Round 3 (Creating the Leaves): Ch 6. Sc in the 2nd ch from hook, hdc in the next, dc in the next 2, tr in the last ch. Skip 3 stitches on the main circle, sl st into the 4th stitch. Repeat this sequence 4 more times to create 5 distinct star-shaped leaf points. Fasten off.
Assembly: Rolling the Rose
- Thread your tapestry needle with the long purple tail from your scalloped strip.
- Start at the end with the smaller, 6-dc shells. Tightly roll the first two shells inward to form the center bud.
- Secure the bottom edge with a few stitches using your needle.
- Continue wrapping the strip around the center bud, stitching through the flat bottom edge every half-turn to lock the layers together.
- Once fully rolled, place the flat purple bottom directly into the center of your green leafy base, and whip-stitch the two pieces firmly together.